Tucker® Technical Service
We employ a comprehensive Total Quality approach that monitors every facet of fastener production to ensure all products achieve the challenging performance specifications our customers require.
To fully ensure that product requirements are met, our team maintains statistical process control in manufacturing, including heat lot control and material traceability.
We achieve exceptional quality control year after year through continuous improvement and on-going quality awareness training. Our team of experts is ready to assist you in all phases of production including design, value engineering, testing, and failure analysis to ensure maximum quality at the lowest possible cost. And with short lead time, we can provide you with prototypes and samples that allow performance testing at the same standards you can expect in final production.
Quality Processes
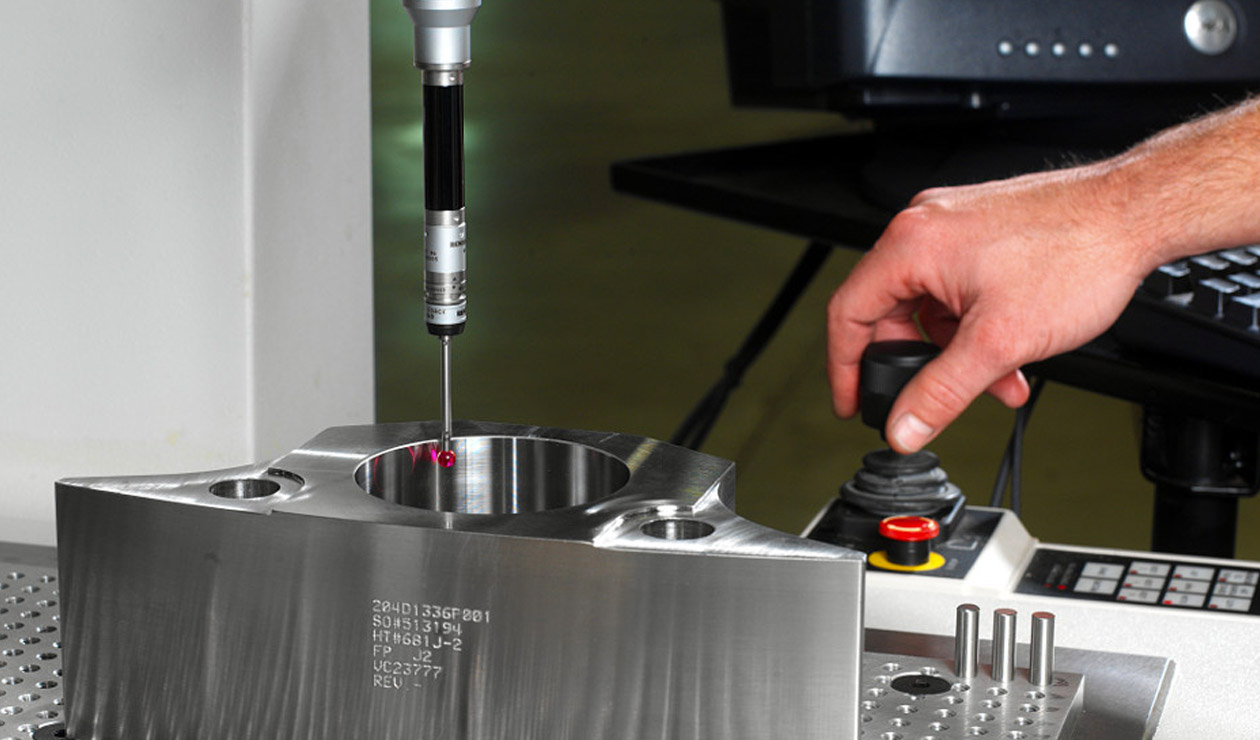
A leading provider of custom precision machining services, we are committed to achieving the highest possible quality in every steel part or component. In addition to maintaining a staff of experienced mechanics who are trained in Six Sigma Quality techniques,
Non-Destructive Testing (NDT) Services
STANLEY® Engineered Fastening utilizes several high-tech non-destructive testing (NDT) techniques. A more cost-effective measure of quality assurance for complicated parts and components, non-destructive testing is valued for the ability to measure the soundness or mechanical integrity of a finished custom part without damaging it. We offer the following types of NDT:
- Magnetic Particle Inspection to ASTM E709 - uses a magnet to detect flaws in ferromagnetic precision-machined parts such as those composed of nickel alloys.
- Dye Penetrant Inspection to ASTM E165 - an NDT method used for nonferrous, nonabsorbent steel components. A visible liquid dye is applied then removed; any subsequent seepage reveals any flaws in the finished part.
Quality Equipment: Met Lab
Our met lab equipment tests the integrity of precision-machined parts and components by applying force to an extra test piece or a prolongation devised specifically for testing that is broken from the main part. Force, whether tensile, impact, etc., is applied until the test piece fails thereby providing a large amount of information on the test piece’s mechanical properties which are comparable to the properties of the remaining precision parts and components.

Marking Equipment for Custom Machined Parts
We maintain an in-house line of marking equipment. This equipment is used to create high-quality, non-damaging marks on the custom machined parts and components. Critical to accurate and efficient asset tracing, warranty tracking, and warehousing, marking also allows for easy part identification.
Environmental Policy
Stanley® Engineered Fastening strives to minimize any potentially adverse impacts of its operations and products on its employees, customers, the general public, and the natural environment through its commitment to continuous improvement, the prevention of pollution from its operations, compliance with applicable legal, customer, ISO 14001 requirements and active participation of its workforce and management.
Operations Policy
Our company is committed to producing the highest quality products, delivered on time, with exceptional service, while preventing injuries and ill health in the workplace and minimizing its potential impacts to the environment from its products and its operations. The company strives to prevent injuries and ill health in the workplace through its commitment to continuous improvement, compliance with applicable legal requirements, the requirements of OHSAS 18001.
Manufacturers all over the world trust STANLEY® Engineered Fastening and we maintain internationally recognized quality standards and military specifications.